Installing System Memory


Asus Desktop board Prime X299-A has eight 288-pin DDR4 DIMM sockets arranged in four channels (A, B, C, and D).  

For optimal memory performance:

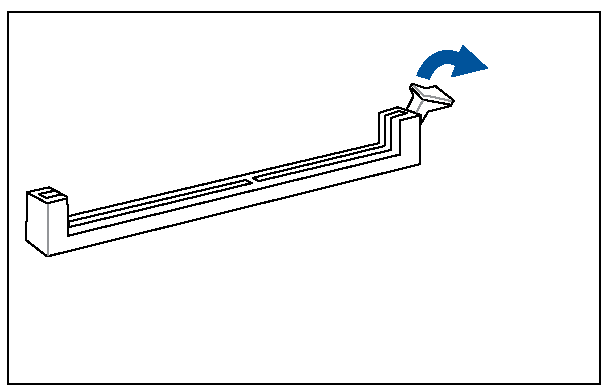
  • Install DIMMs in numerical order (1-8).

  • For dual-, and quad-channel operation install matched DIMMs of equal speed and size in each channel.

  • If you are installing four or fewer DIMMs, use the lighter coloured sockets.

X299-A_RAM_slots.JPG   


note.jpg
  • Using a DIMM with a voltage rating higher than 1.4 V may damage the processor.


To install a DIMM, follow these steps:

  1. Observe the precautions in "Before You Proceed".  

  2. Turn off all peripheral devices connected to the computer. Turn off the computer and disconnect the AC power cord.

  3. Remove the computer’s cover and locate the DIMM sockets.

  4. Make sure the clips at either end of the DIMM socket(s) are pushed outward to the open position.

  5. Holding the DIMM by the edges, remove it from its anti-static package.

  6. Position the DIMM above the socket. Align the small notch at the bottom edge of the DIMM with the keys in the socket.

  7. Insert the bottom edge of the DIMM into the socket.

  8. When the DIMM is inserted, push down on the top edge of the DIMM until the retaining clips snap into place.  Make sure the clips are firmly in place.

  9. Replace the computer’s cover and reconnect the AC power cord.

X99-A_RAM_insertion_Page_1.png

X99-A_RAM_insertion_Page_2.png